graphics (Page 2)


Feature
Week in Tech: Intel 9 Series, £200 GPUs, VR And Fast Food
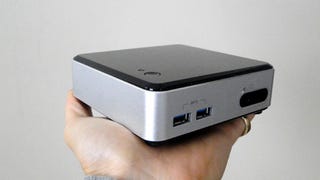
Intel's new motherboard platform arrives, but still no CPUs


Feature
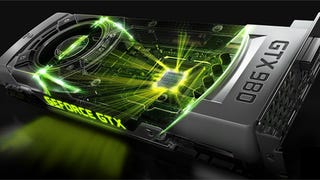
Week in Tech: Nvidia's Mighty New Maxwell Graphics
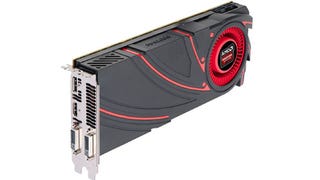
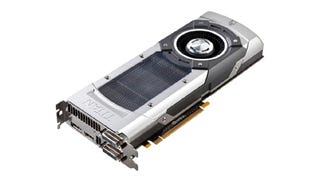
Nvidia goes power-efficiency mad with its new Maxwell chips