Feature The Flare Path welcomes combative commenters Colonel Croesus commences May 1, 2020 Tim Stone 48 comments
Feature The Flare Path: A Farrago of Foxers Belated birthday bash April 24, 2020 Tim Stone 27 comments
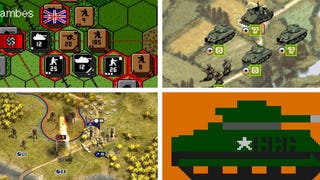
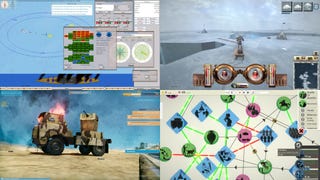
Feature The Flare Path Dimension Debate 3D in wargames – bane or boon? April 17, 2020 Tim Stone 19 comments
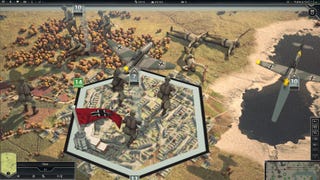
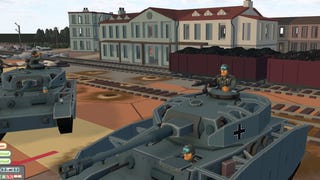
Feature The Flare Path: Unhexceptional Panzer Corps 2 reconnoitred March 27, 2020 Tim Stone 22 comments
Feature The Flare Path: Priceless Victories Panzer Corps 2 substitutes for the stony broke March 20, 2020 Tim Stone 13 comments
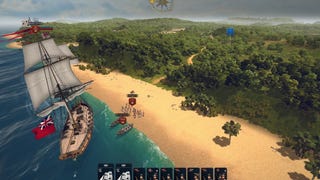
Feature The Flare Path: Dogs and Lobsters Qualified Ultimate Admiral admiration March 13, 2020 Tim Stone 17 comments
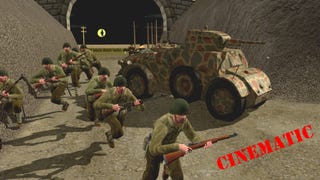
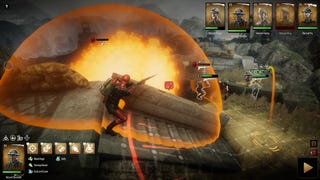
Feature The Flare Path: Broken Lines Antony Beevor never mentioned this Feb. 28, 2020 Tim Stone 18 comments
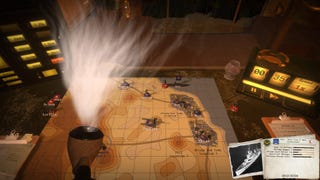
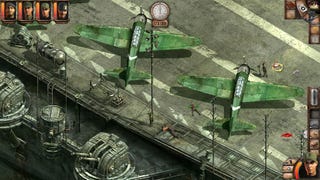
Feature The Flare Path talks Task Force Admiral “Morale? Personally, I am not a fan.” Feb. 14, 2020 Tim Stone 22 comments
Feature The Flare Path: Through the Darkest of Times Talk to the monsters Feb. 7, 2020 Tim Stone 12 comments
Feature The Flare Path: Ticket to Ryde (part II) Fascinating facts and superannuated snacks Jan. 24, 2020 Tim Stone 13 comments
Feature The Flare Path emburdens Second Front Advanced Squad Leader heeder Jan. 3, 2020 Tim Stone 18 comments
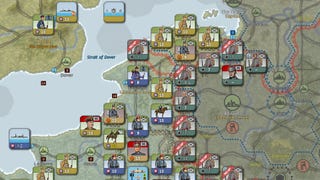
Feature The Flare Path contests a continent Strategic Command: World War I reviewed Dec. 13, 2019 Tim Stone 8 comments