Far Cry 5: Lost on Mars guide and Hurk's body parts locations
A space oddity
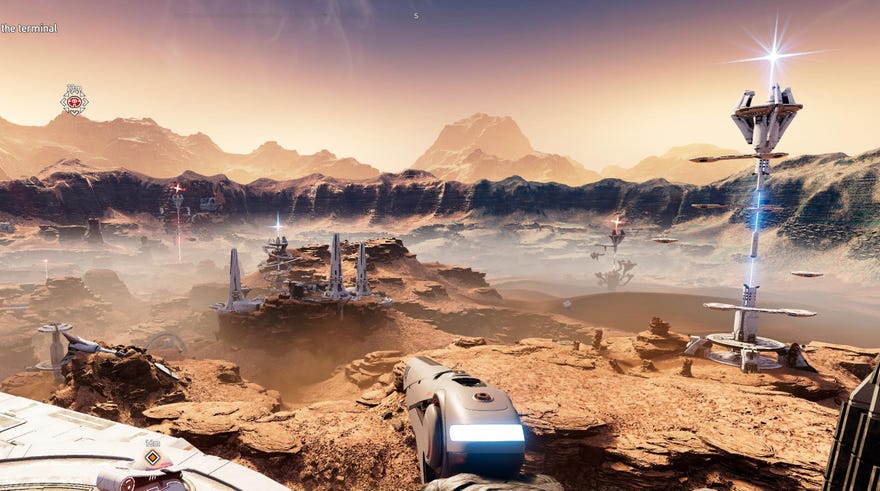
While Far Cry 5 was a much more rooted campaign, Lost on Mars ramps things up to a space adventure, romping around Mars and shooting some arachnid aliens. Showing Ubisoft's sillier side once again, this may not be the most complex DLC ever produced - or the best, if John's review is anything to go by - but if you decide to play there are some things that probably need clearing up, such as where exactly Hurk's body parts are and why getting them is so important. This guide will do just that.
Far Cry 5 - Lost On Mars guide
Lost on Mars sees the protagonist Nick Rye - the pilot from the main campaign, being abducted by aliens. He is tasked by his friend, Far Cry staple redneck Hurk who is now a severed head floating around, to restore an AI on the surface of Mars in order to stop an arachnid race from invading the earth. In this guide, we will take you through how to access the DLC, the weapons you can obtain, and the locations for collecting Hurk's various body parts in order to leave Mars for good.
How to access the Lost On Mars DLC
It's not found in the main campaign, so you don't need to have played Far Cry 5 to access this downloadable content. In the main menu, there's a section called Add-on Packs. This can be selected here and saved progress can be resumed from this menu. Once you've accessed the DLC, feel free to check out our Far Cry 5 - Lost on Mars mission guide for the walkthrough for each of the missions.
How to play Coop
This DLC can also be played cooperatively. To do so, bring up the sub-menu where you can look at the map, inventory, and collectables. The furthest icon to the right allows you to invite friends to play coop.
How to obtain weapons and upgrades
Weapons are generally created through the 3D printer at each base and antenna. It takes materials to create them, which is done by either looting the various objects or killing the aliens. There are four weapon types: Pistol, beam gun, assault rifle, and shotgun. Each weapon upgrade is unlocked by acquiring blueprints or restoring certain territory, but you need to spend resources to craft them. Once crafted though, you don't need to worry about ammunition.
Items however are a little more complex. Some are scattered throughout the map, while others require either blueprints or liberating certain facilities. Below are the requirements to unlock all the items for crafting in the printer.
Consumables
- Extra Lifer - Restore Transference Center to unlock this item. Buffs player with armour. Costs 25 resource and you can only hold one.
- Space Bandages - Restore the Control Center Antenna to unlock this item. Restores health per charge. Costs 75 resource and you can hold three of them.
- Disappearing Act - Found on the map. Check back soon for location and full description.
- Cock Blocker - Found on the map. Check back soon for location and full description.
Throwables
- Gren-adios - Found on the map. Check back soon for location and full description.
- System Shocker - As you're heading towards the Midnight Mountains Antenna from the Transference Center, there's a small tower on top of the mountain that's a little unassuming. On the side of this tower is where you can obtain them. These grenades stun and damage enemies, cost 100 resource to produce, and you can have a maximum of three.
- Chickenade - Restore the Bovine Research Center to unlock this item. Check back soon for location and full description.
- Crabmones - Restore the Arachnid Research Center to unlock this item. Check back soon for location and full description.
- Queen's Heart - Complete the Queen's Challenge to unlock this item. Check back soon for location and full description.
Space Suit Upgrades
- Space Wings - Acquire 1st universal blueprint. Check back soon for location and full description.
- The Reinforcer - Acquire 10th universal blueprint. Check back soon for location and full description.
- Pro Shooter Upgrade of Doom - Kill 10 queens. Check back soon for location and full description.
- Consumption Regulator - Acquire 11th universal blueprint. Check back soon for location and full description.
- More Hellsplosions - Restore the Midnight Mountains Antenna to unlock this item. Costs 500 resource. "More booms for your buck. Grenades for days."
- Sac O' Giblets - Restore Hemoleum Center. Check back soon for location and full description.
- Space Bandage Two - Acquire 3rd universal blueprint. Check back soon for location and full description.
- Swiss Army Knife - Acquire 6th universal blueprint. Check back soon for location and full description.
Valuables
- Energy Core - Kill 5 queens. Used to unlock the various facilities on the map.
Where are Hurk's body parts?
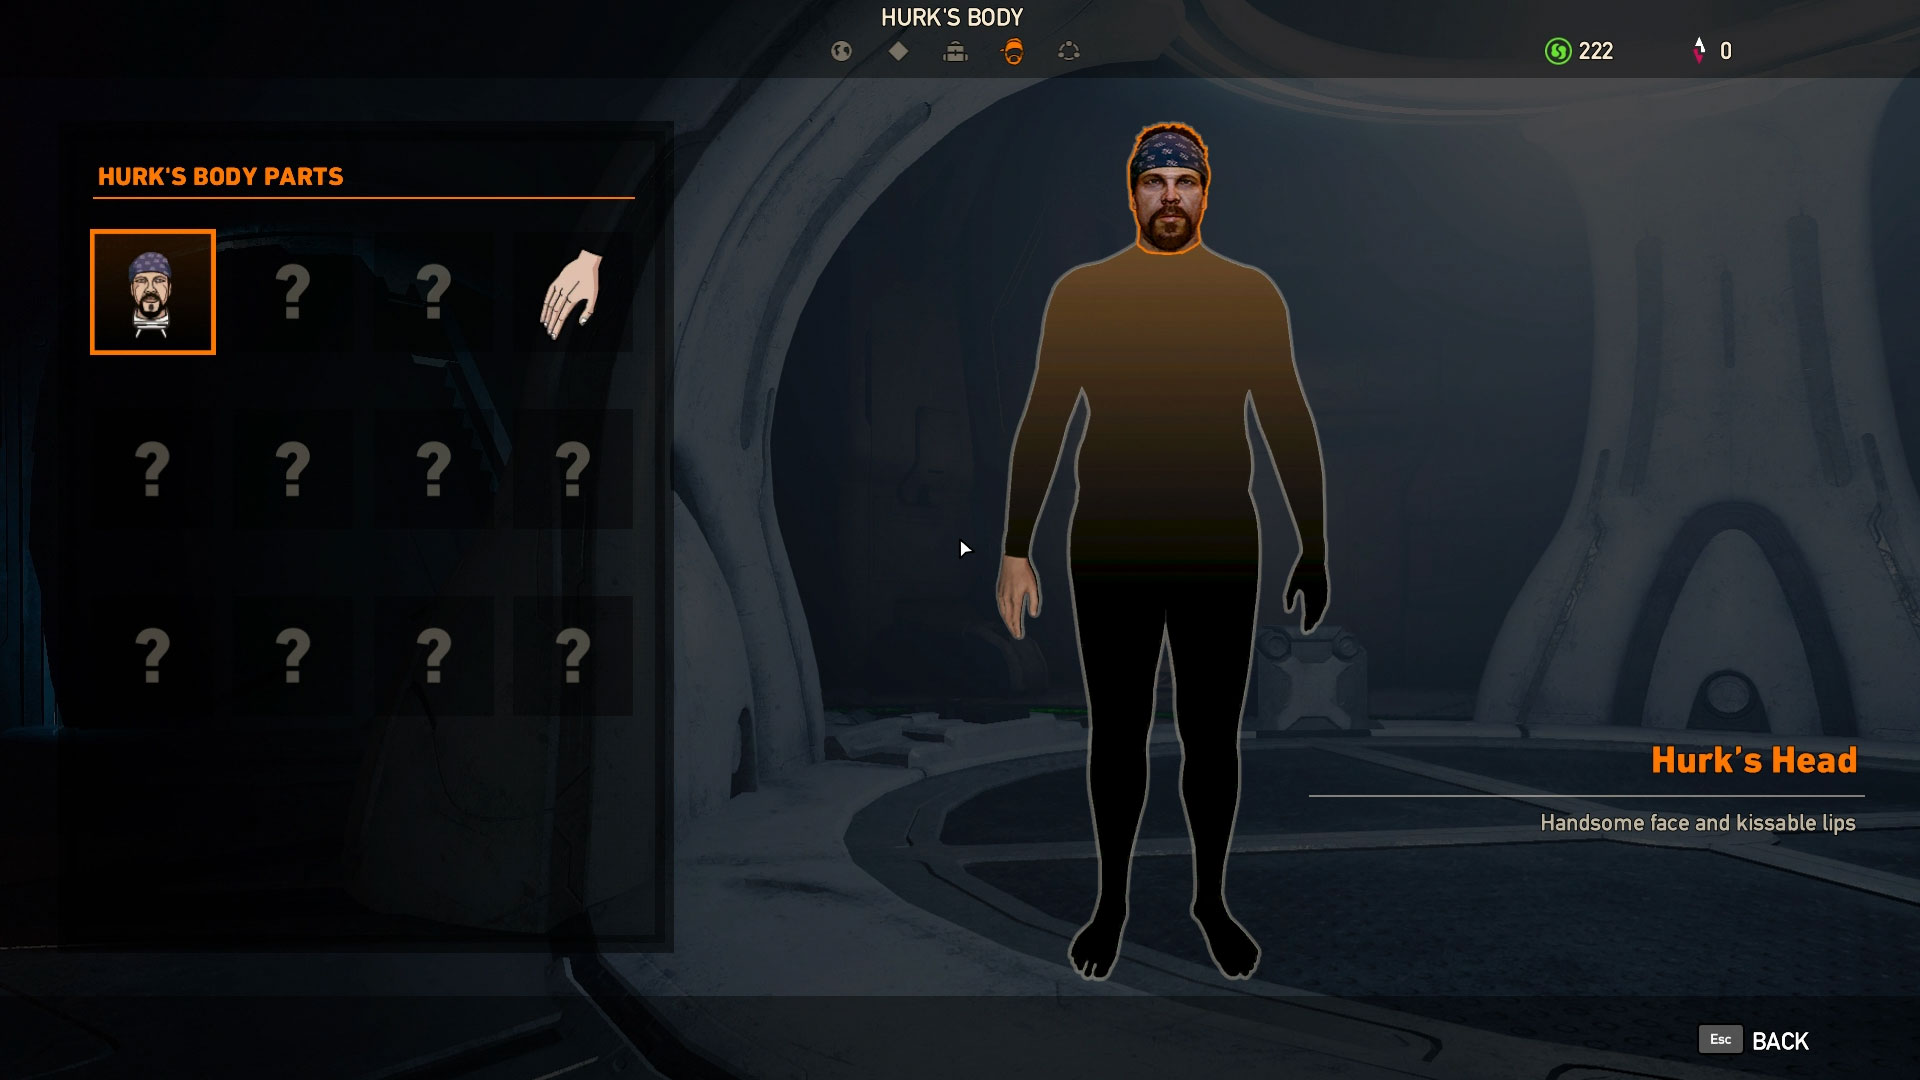
There are a surprising number of collectable body parts for Hurk, 12 to be exact, after all he was blown to smithereens. When you first encounter him, all you see is a severed, floating head, but the rest of him is spread across the entirety of Mars.
Head - Encountered as you enter the game.
Right Hand - Obtained during "Dismembered" quest. This can't be missed.
Pelvis - This is found shortly after the hand after leaping across rocks to avoid the sand in the "Dismembered" quest. It can't be missed.
Right Arm - At the Midnight Mountains Antenna in the northwest, take the eggs to draw out the alien queen. Kill it and you can take Hurk's right arm from inside.
Chest - In the Desolate Dunes, north of the Antenna, you need to climb through a cave and to the top of a tower of rock to find Hurk's, er, "man boobs."
Right Leg - In the first Desert of Despair side mission, you'll find a group of Arachnid Kings near the Bovine Research Center. Kill these and loot them to find the right lower leg.
Left Leg - North of the Pits of Peril Antenna, in the second Desert of Despair mission, you'll find a wreck being protected by two Arachnids. Kill them, loot them, there's Hurk's left leg.
Right Big Toe - The third Desert of Despair side mission will send you south of the Mining Station. You'll find Elite Arachnid soldiers patrolling a building; kill and loot them to find the toe.
Left Foot - Southwest of the terraformer in the Pits of Peril, up a cliffside embedded in an egg cluster. Destroy the eggs and then jump and hover to reach it.
Right Foot - In the sand southwest of the Desolate Dunes Antenna, you'll find a mostly destroyed structure and some crates. The foot is lying on the ground.
Left Hand Pinkie - South of the Arachnid Research Center, you'll find an underground space basked in purple light in the Pits of Peril. Kill the creature that attacks you and you'll find the left hand pinkie.
Left Forearm - In the Pits of Peril, climb the metal tower and you'll find it sat on top of a crate.
That's all for now. Like the guide? Let us know in the comments below and we can expand on it in the coming days.


